Self Inflating Sleeping Pad Repair: Tips and Tricks the Professionals Use
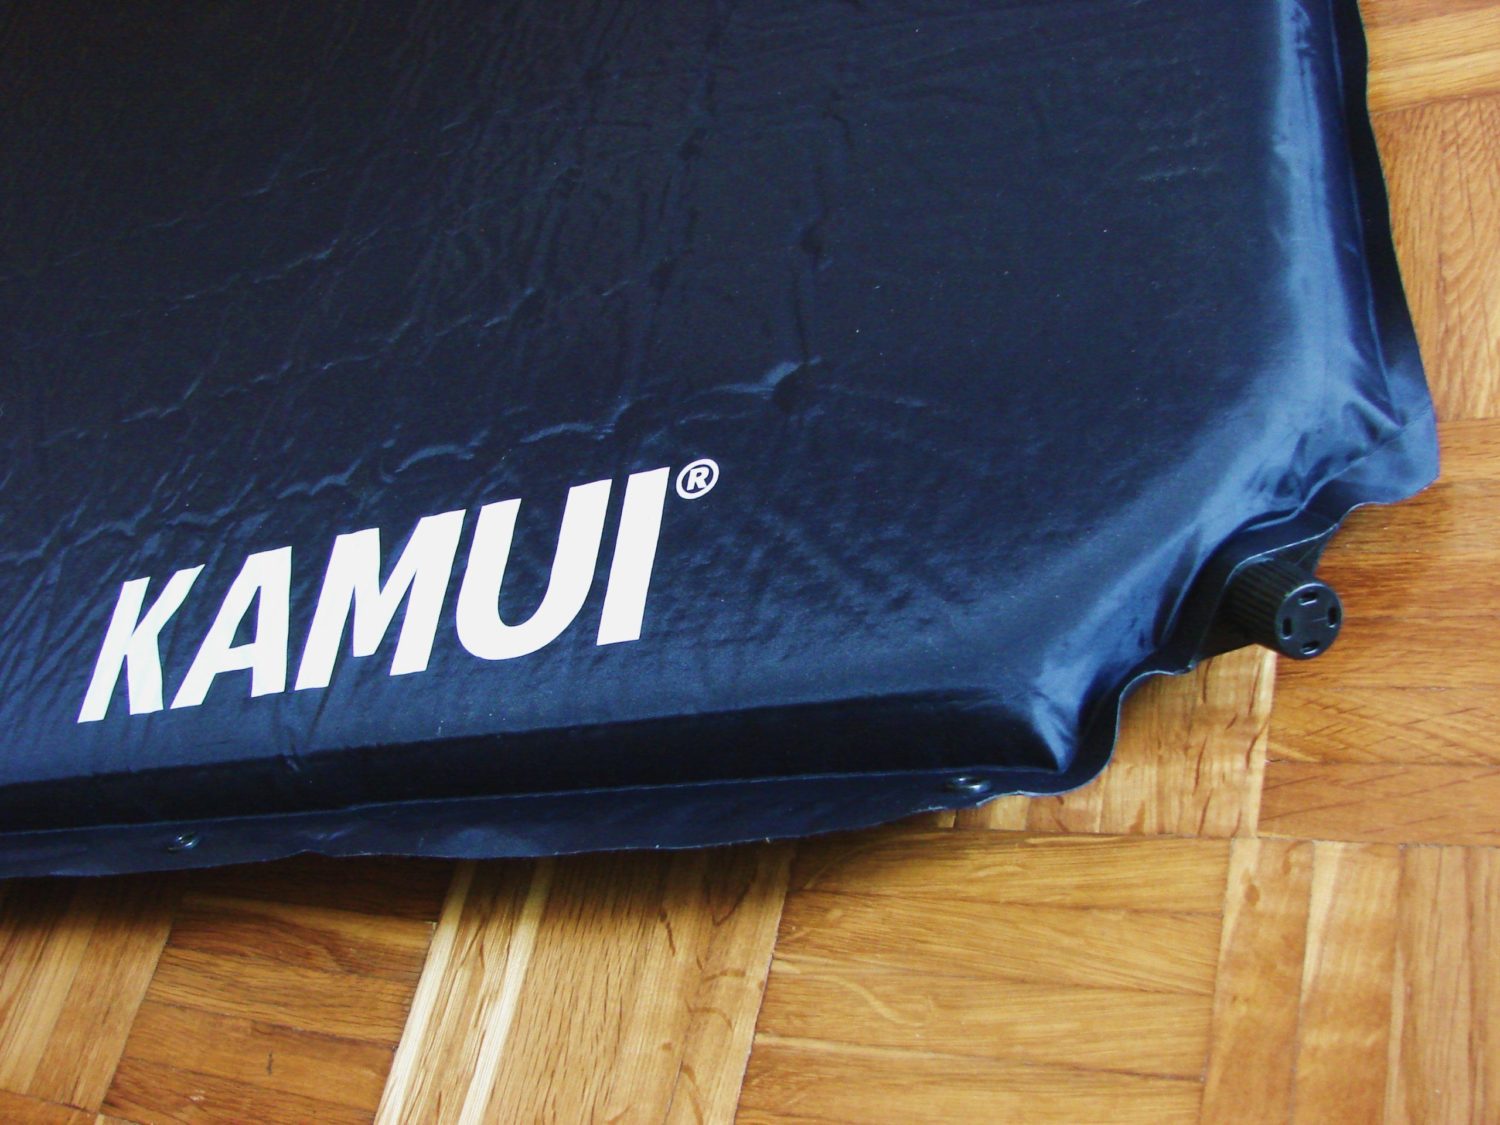
Oh no! You’ve just punctured your favorite self inflating sleeping pad and you don’t know what to do? Luckily, we are here to guide you through the Self Inflating Sleeping Pad Repair process.
It doesn’t matter if it’s a puncture or valve failure, we are here to help you. First, you need to know that any self inflating sleeping pad can fail because of either your mistake, misuse like undoing the valve too much or too tightly, or even puncturing it on a sharp object, but also due to factory mistakes.
If your self inflating pad punctured or malfunctioned, we are here to help you repair it with either a repair patch, repair kits, or even duct tape. It’s not all doom and gloom, here is how you can fix everything and use your sleeping mat for years to come.

How to repair sleeping pad punctures?
Your camping pad is deflating? You probably put your sleeping mat on a rough surface or rock that punctured it. Here is what you need to do, to make sure it’s a puncture and close it with or without a repair kit.
How to find the leak?
Foremost, you need to make sure you know what and where you are repairing.
For this step, you will have to fill a tub of water. Make sure the water is lukewarm and not cold. Let your self inflating sleeping pad inflate outside and only once it is inflated, insert it into the water. Place the whole pad under water.
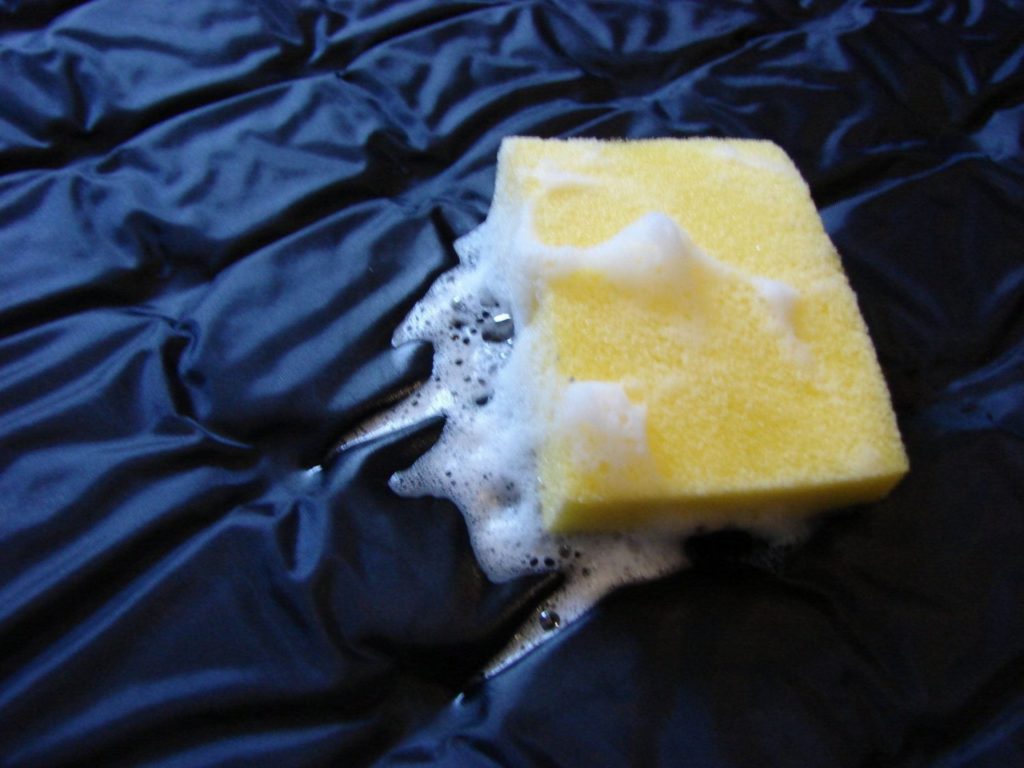
When it is submerged, look out where the bubbles are coming from. The locations where leakage shows are the punctures. If no bubbles appear, there is no puncture.
We love this way of puncture locating because it automatically tells you how many gaps your sleeping pad has. If you want to wash your sleeping pad, make sure you add soapy water.
If you’re not operating in a full-sized tub, submerge half of your camping pad in a smaller plastic tub or basin. Once you check one half, submerge the other one.
When you have located the leak or leaks, in some instances, make a small circle around it with a waterproof marker. This will help you locate the pinhole leak once the sleeping pad is dry.
Next, once you have found the punctures, let your sleeping pad dry.
How to patch up your sleeping pad?
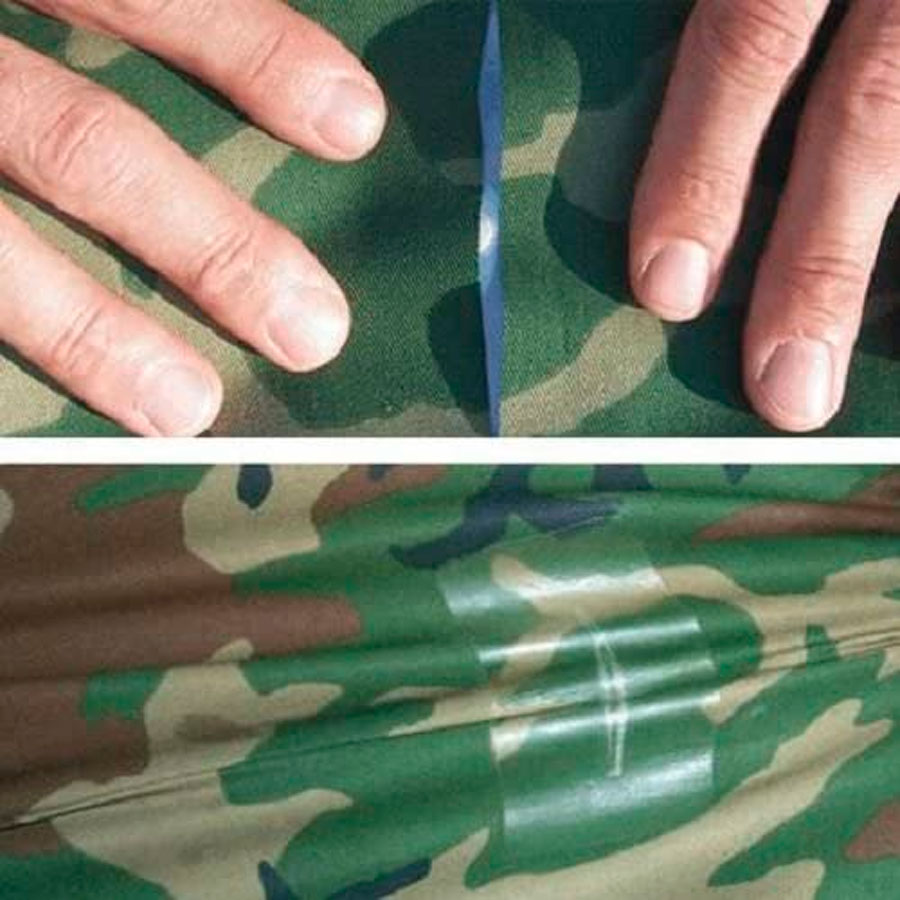
If you’re somewhere on the trail and you really need your sleeping pad to function, this self inflating sleeping pad repair technique will save you so much time and money. It’s very easy. Here is what we do for first-aid patch-ups: Just put some duct tape on it.
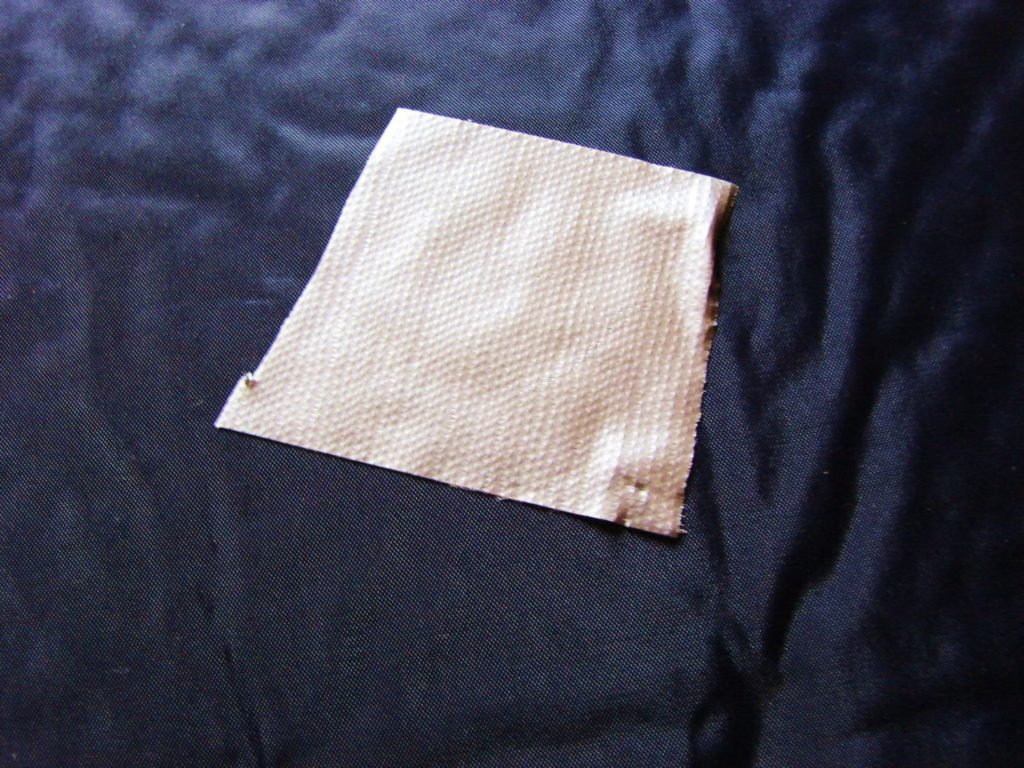
If you know where your puncture is, and you know how to put a section of duct tape on anything, you’re saved. Once you are home, come the more intricate reparations, and the same goes for air mattress repair.
Now, if you’re using a repair or patch kit, here are the steps you need to follow:
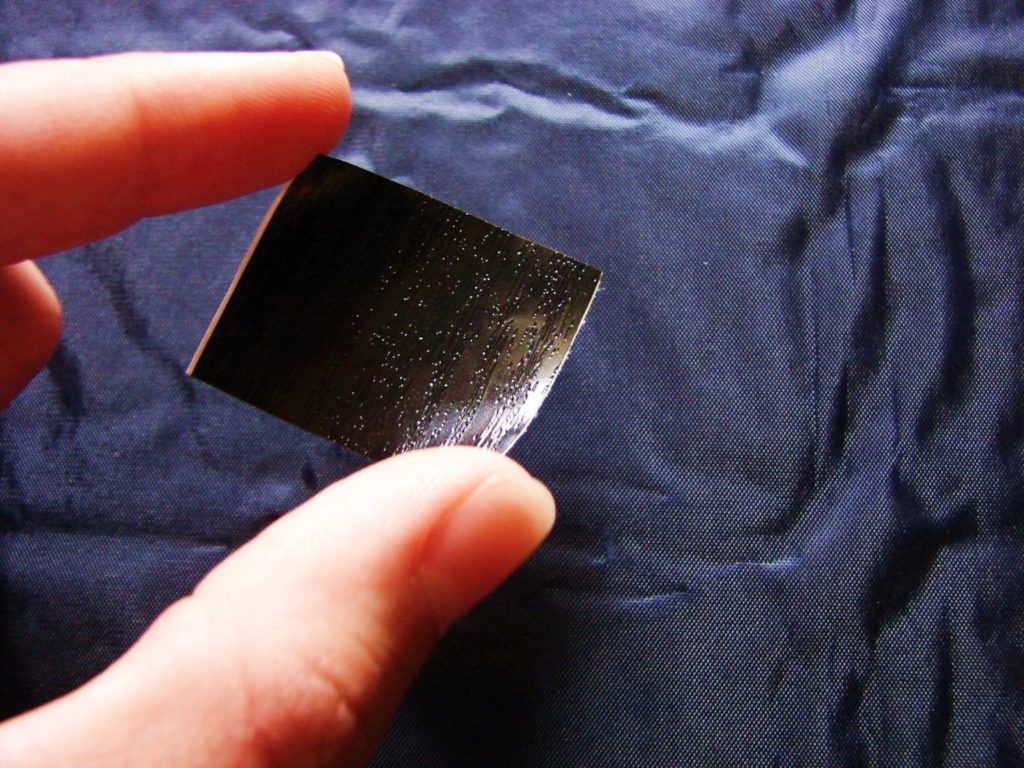
- If you don’t have a pre-cut patch, or your hole is small, cut a fabric patch that goes 1” around the leak.
- Add liquid adhesive around the hole about 1” in diameter. Follow instructions on the packaging when it comes to how much and how long to leave it on. This glue will look like and have the consistency of superglue, so don’t touch it with your bare hands.
- Place patch on the glue.
- Wait for the patch and glue to dry, for a period of time that is stated on the packaging or instructions.
But, if you’re using a self adhesive patch, consider these steps:
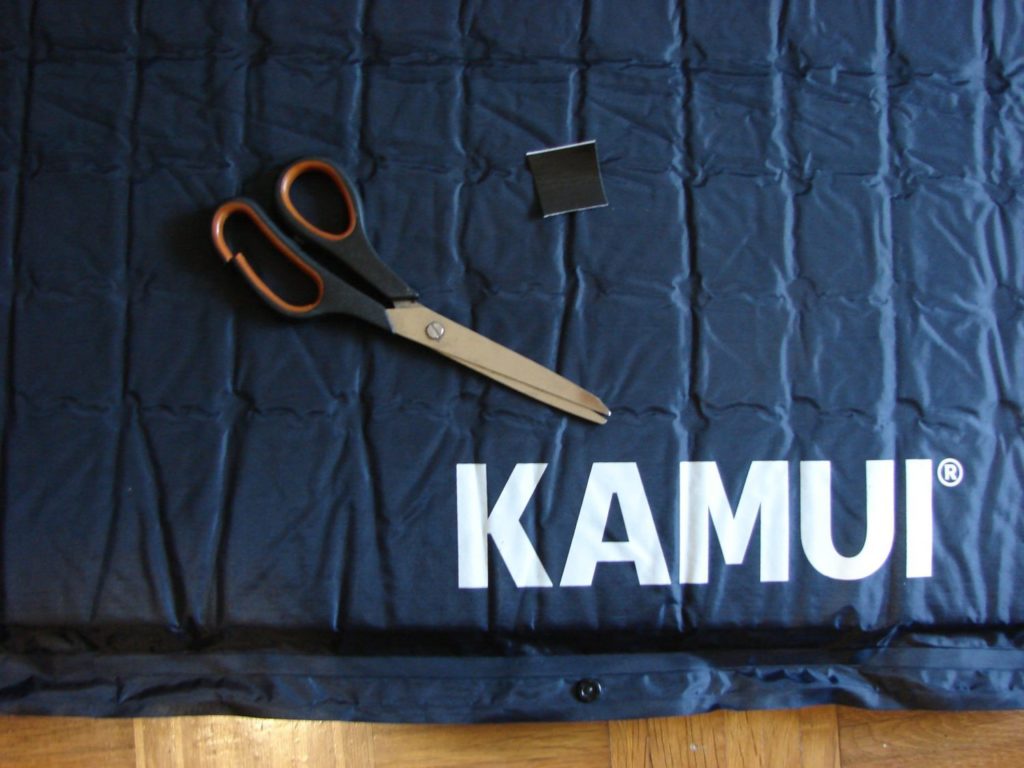
- Cut the patch if needed.
- Peel the repair patch so the adhesive side is visible.
- Place the patch on the camping pad and let it sit there.
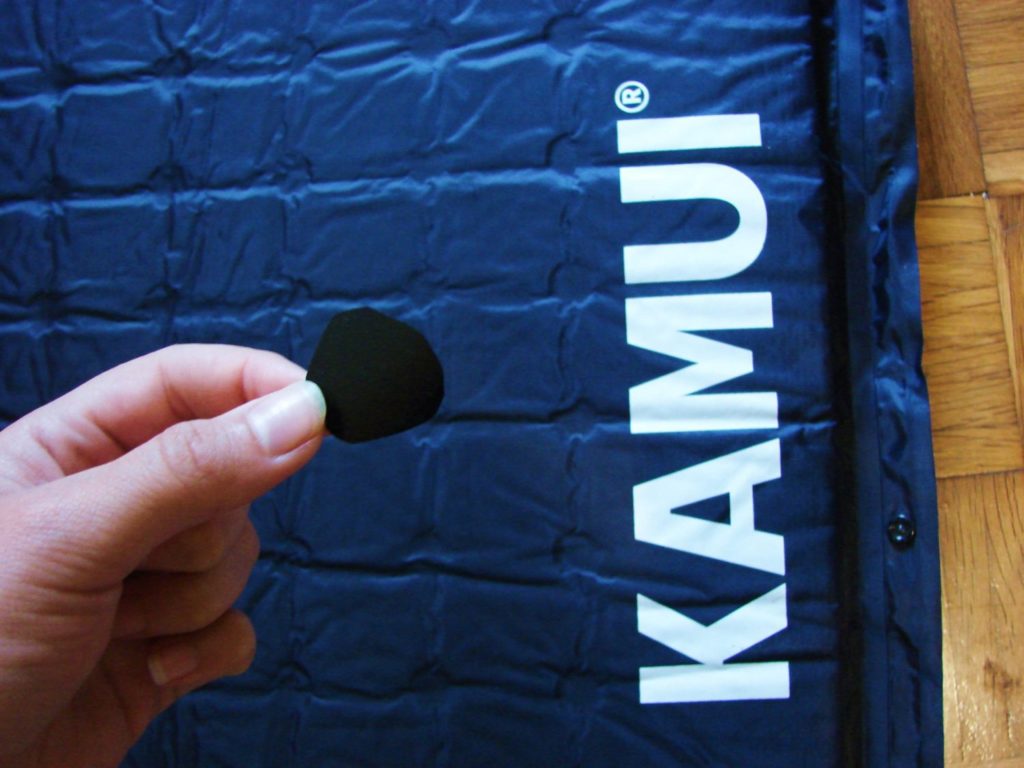
Recommended Patches and Kits
The best repair kits are the ones you get from the manufacturer, these original kits are personalized to your mat and should fit perfectly.
If you didn’t get a reparation kit with your pad, you can buy one either at your local outdoor store, online over the official site of the brand, or a generalized kit over Amazon.
Either way, always make sure you bring a small portion of duct tape camping with you, not just for repairing your pad, but for other punctures too.
How to repair the sleeping pad valve?
You’ve probably had a camping trip where your self-inflating pads couldn’t open, and you were in a hurry. So you pulled too hard on one side of the pad’s valve and practically broke it? Or did your dog chew on it? No need to panic, valve reparations are not something we see unoften.
An air valve might break due to misuse, and fixing it is quite easy. Here are the steps you need to follow:
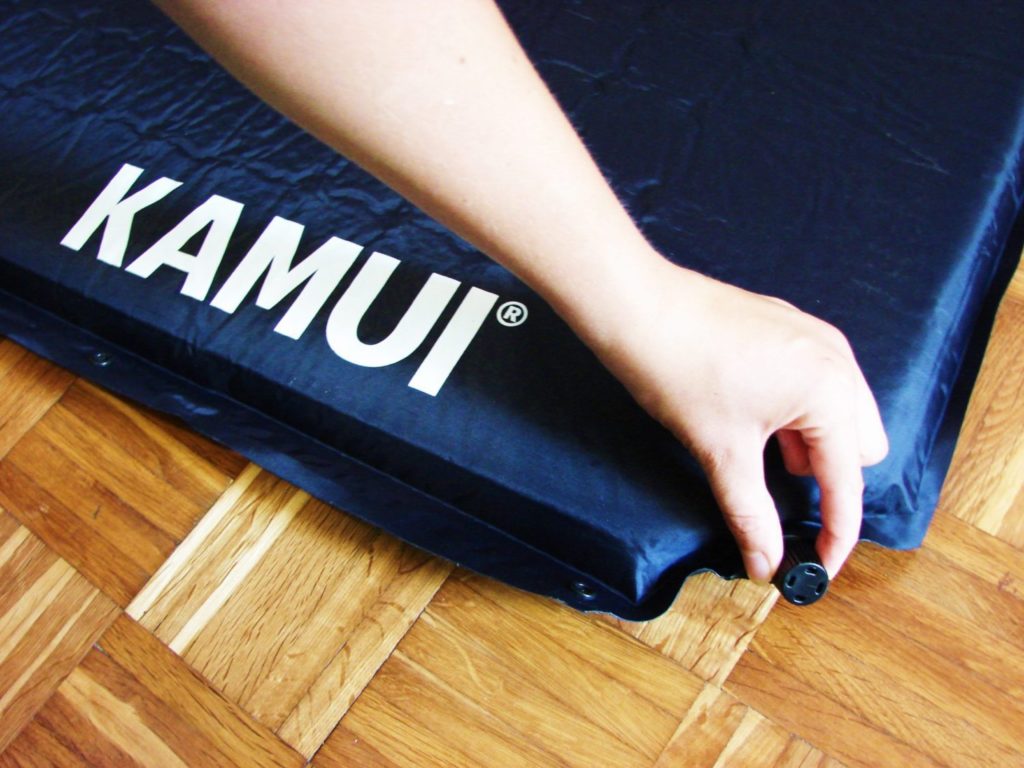
- Open the old valve as far as possible.
- Use the pliers to loosen the valve from the pad. Move it up and down like you are unscrewing it first on one side and then on the other.
- Pull away from the pad with the pliers and once the old valve unsticks, you are done.
- Clean the valve’s outside plastic before setting the new valve in.
- Use your kit and put the glue on the new valve. Make sure you know which part of it you are sticking inside, and which part can be unscrewed and opened. Add a thin layer of glue to the valve.
- Insert the new valve into the plastic opening on the pad. Some pushing and twisting might be needed.
- Voila! The pad is finished, let it dry.
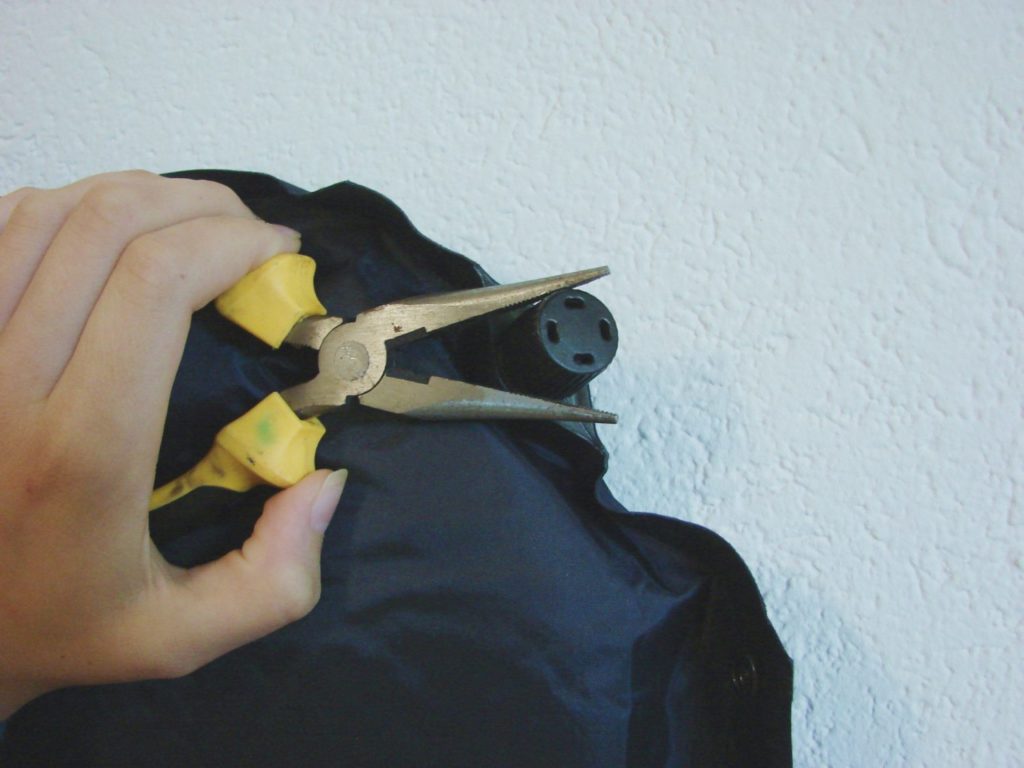
Read more about this repair process in our Self inflating sleeping pad not inflating article, which you can find here.
Make sure your valve comes from the same manufacturer as your pad, and if possible make sure it fits your valve. Don’t use no-name or off-brand valves, because they might not fit your camping pad’s valve diameter and size. Buy your valve either in an official shop or online over the manufacturer’s website.
What will I need for self inflating sleeping pad repair?
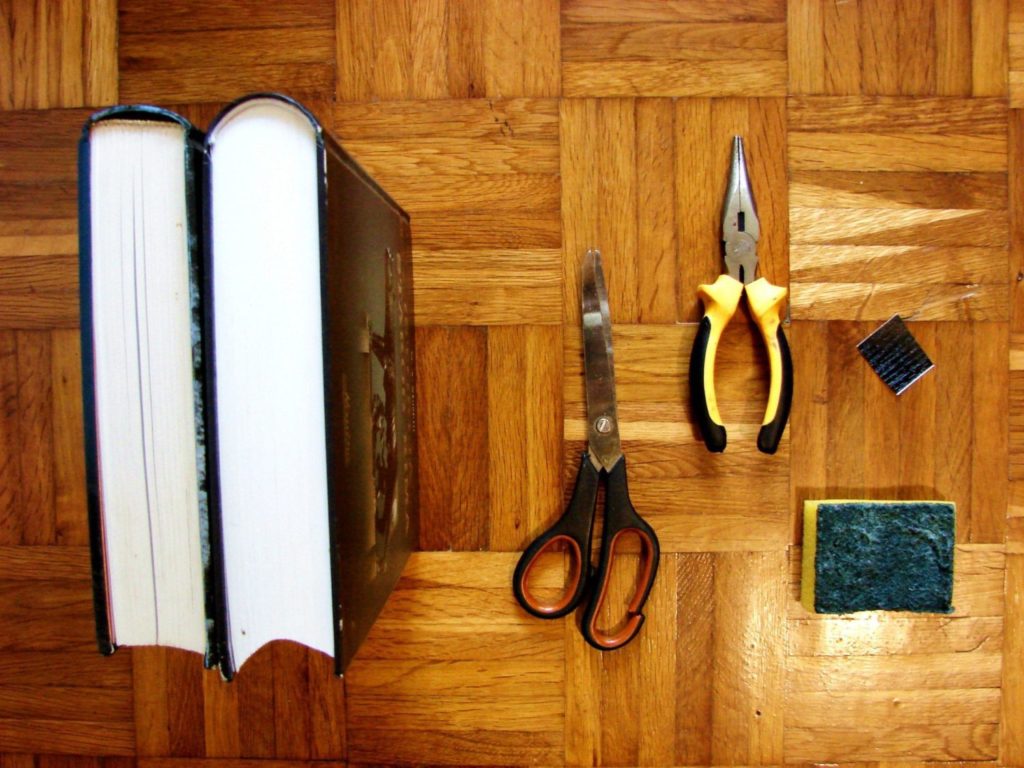
- Tub of clean water
- Waterproof marker
- Repair kit, patch, and adhesive
- Or Adhesive Patch
- Or Duct tape
- Valve repair kit, valve, and adhesive
- Pliers
How do I check my self inflating sleeping pad repair?
Do you want to ensure your next camping trip and sleeping in your sleeping bag is secure? make sure your sleeping pad repairs worked! It might turn out that you’ve missed a pinhole puncture that is still leaking, or you didn’t add the right amount of glue to your valve.
Here is how you can check:
- Inflate your sleeping pad fully.
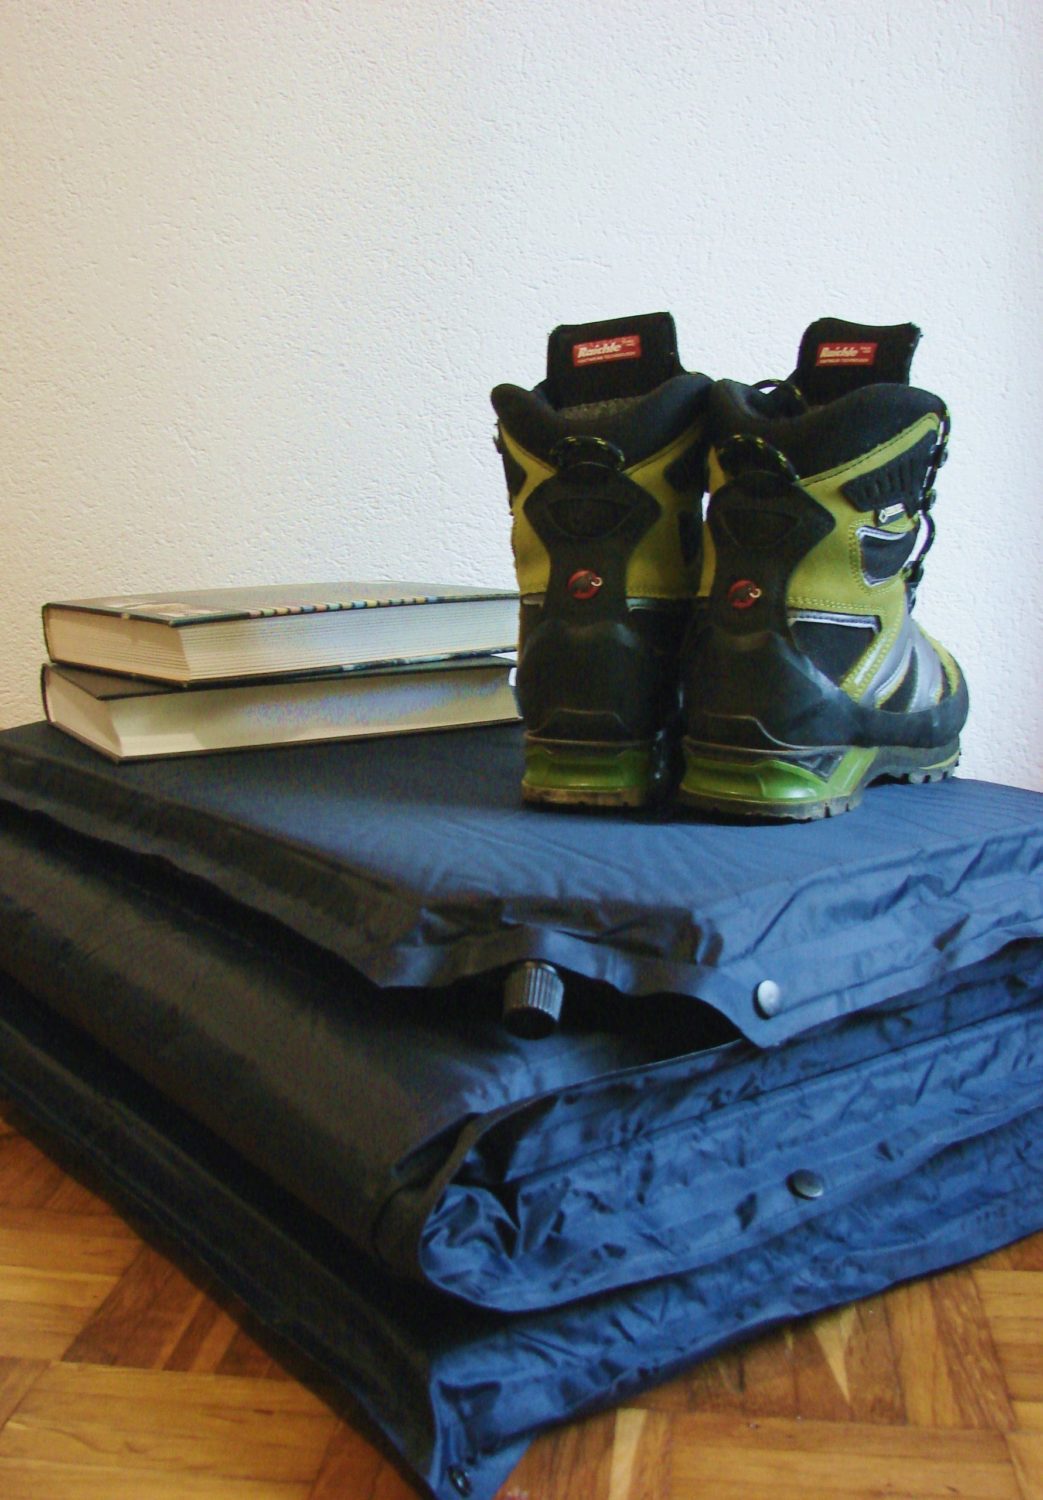
- Place a heavy object on it, we love to add a few books or your heavy winter boots. Leave it overnight.
- Check if it is deflated in the morning.
- If the mat is deflated, it is still leaking, if not, It’s repaired.
If you are still searching for the best sleeping pad for car camping, we have a great recommendation for you. The KAMUI self inflating sleeping pad is perfect for car camping in all seasons and conditions.
FAQ
Make sure you know what is broken or punctured, buy the needed kit and follow our steps on how to repair your sleeping mat. Most importantly, take care of your camping gear.
Yes you can. In first-aid situations, duct tape might come in handy, but it doesn’t offer a durable solution. Once you are home, make sure to follow our self inflating sleeping pad repair steps.
Your deflating sleeping pad might be due to a small pinhole puncture that you’ve never realized that it’s there. Put your sleeping pad under water and see if any air is escaping.

Conclusion
Next time you are outside, make sure to stay clear of any debris like rocks or twigs that might penetrate the outside membrane of your pad. Even worse, never let your dog chew on your sleeping mat valve! We would like to recommend our choice of sleeping pad: The KAMUI self-inflating sleeping pad.
If your foam pad or inflatable mattress broke or punctured while outside or on a camping adventure, we are here to help. We hope our guide on self inflating sleeping pad repair helped you in understanding your back, understanding how, why, and where to apply adhesive or a patch when doing your maintenance.


